FH6 Barn Find Locations: Complete Guide to All 15 Hidden Cars
This page works best as part of the collectibles cluster alongside Treasure Cars, landmarks, and the interactive map.
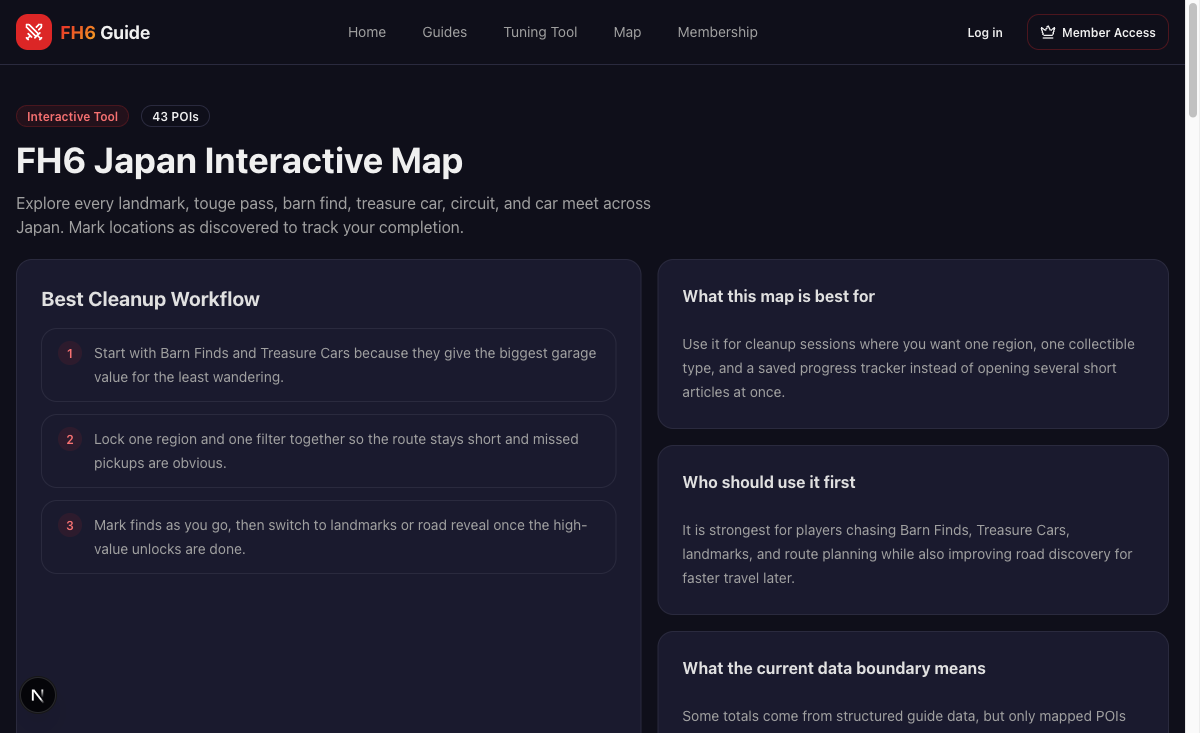
Use the map for Barn + Treasure cleanup
Best when you want to clear Barn Finds together with Treasure Cars and road reveal instead of opening multiple location pages separately.
Quick Answer
Barn Finds in FH6 are tied to Discover Japan progression, not the main Festival campaign. You need all 7 Discover Japan stamps (Visitor → Master Explorer) to unlock every barn. Clear barns by region loops — Ito, Ohtani, and Shimanoyama together — instead of bouncing across the map.
Who This Guide Is For
Use this guide if you want to unlock Barn Finds efficiently without confusing them with Wristband progress, and especially if you want region-first route planning instead of hunting one purple circle at a time.
Best Path If You Only Have 1 Hour / 1 Day / 1 Week
1 Hour
Push the earliest Discover Japan work that reveals your first visible barn, then clear only the closest region loop. Your first goal is to prove the system and bank one restored car, not to chase all 15 immediately.
1 Day
Group Ito, Ohtani, and Shimanoyama into one cleanup window and use Drone Mode at every search area. This gives you the densest Barn Find return before late-game stamps become the limiting factor.
1 Week
By the end of the week, you should be routing Barn Finds together with Treasure Cars, landmarks, and road reveal. Once the Discover Japan track is moving well, barns become a route-planning problem more than an unlock mystery.
What We Recommend First
Treat Discover Japan stamps as the real Barn Find progression bar. If you are still asking why no new barns are appearing, the answer is usually not campaign progress — it is that your stamp track is lagging.
The Real Barn Find Rule
Barn Finds feel random only when you treat them like isolated collectibles. In practice, they are a Discover Japan progress reward plus route-efficiency reward. The players who unlock barns smoothly are not just driving better; they are stacking three things at once:
- advancing Discover Japan fast enough to keep new barns spawning
- grouping barns by region instead of by unlock order
- pairing barn trips with Treasure Cars, road reveal, or landmark work
If your barn sessions feel slow, the problem usually is not that FH6 hides the cars too well. It is that your route plan is too fragmented.
How Barn Finds Work in FH6 (Updated for Launch)
Barn Finds return in Forza Horizon 6, but the unlock system is completely different from FH5. Instead of progressing through Horizon Festival events, FH6 ties barn locations to the Discover Japan side progression track.
This means you could reach the Gold Wristband in the main campaign and still only have one or two barns on your map. To unlock all 15, you need to engage with Discover Japan activities:
- Street Racing and Touge events — build XP on this separate track
- Photography challenges — snap landmarks, cars at race starts, and scenic spots
- Regional mascot collections — smash roadside collectibles in each region
- Food delivery missions — earn star ratings on delivery routes
- Car collection objectives — add cars to your garage through various methods
The 7-Stamp Unlock System
| Stamp # | Tier Name | Barns Unlocked | Cumulative |
|---|---|---|---|
| 1 | Yellow (Visitor) | 1 | 1 |
| 2 | Green (Sightseer) | 2 | 3 |
| 3 | Blue (Traveller) | 2 | 5 |
| 4 | Pink (Pathfinder) | 4 | 9 |
| 5 | Orange (Navigator) | 2 | 11 |
| 6 | Purple (Adventurer) | 2 | 13 |
| 7 | Gold (Master Explorer) | 2 | 15 |
Once a barn appears on your map, a purple circle marks the general search area. Drive to the area, locate the barn structure (typically a wooden building with a distinctive roof, often tucked behind trees or hills), and a cutscene plays. The vehicle is then taken away for restoration — this takes a few in-game hours. You can pay credits to speed up the process if you want the car immediately.
Pro tip: Use Drone Mode from the pause menu when you reach a barn search area. Fly the drone around to scout the exact structure location from above instead of driving every dirt path.
The Three Best Barn Find Sessions
Session 1: Early Proof Run
Unlock your first visible barn, clear it immediately, and stop. The goal here is not efficiency yet. It is to confirm that your Discover Japan track is moving and that you understand how purple search circles behave.
Session 2: Midgame Dense Sweep
This is the highest-value Barn Find session in the game. Stack Ito + Ohtani + Shimanoyama and take every visible barn in one focused run. This is where Barn Finds stop feeling like a side distraction and start paying back real garage depth.
Session 3: Late Completion Sweep
Once Purple and Gold stamp tiers are close, shift from “which car is best” to “what can I finish in one northern loop.” Takashiro, Hokubu, and Nangan are less about early power spikes and more about closing out the collectible set with minimal dead driving.
Best Region Order for Efficient Collection
- Start with Ito and Minamino — earliest visible barns, compact areas
- Group Ohtani and Shimanoyama — mid-map unlocks, highest barn density (7 barns between them)
- Save Takashiro, Hokubu, and Nangan — northern sweep for late-game stamps
- Pair with Treasure Cars — if you are in a region for barns, grab the Treasure Car in the same trip
What To Combine On The Same Trip
- Ito trip — Barn Finds, Treasure Car, coastal roads, and early landmark cleanup
- Ohtani trip — Barn Finds, street/touge progression, and nearby event unlocks
- Shimanoyama trip — Barn Finds, drift roads, mountain roads, and route discovery
- Takashiro/Hokubu trip — late-game cleanup, road reveal, and final Discover Japan progress
The more your session has a second and third objective, the more Barn Finds feel efficient instead of expensive.
All 15 Barn Find Locations
Yellow Stamp (Visitor) — 1 Barn
1. 2005 Honda NSX-R GT — Ohtani Region
A ultra-rare JDM unicorn. Only five real NSX-R GTs were ever built. This mid-engine precision tool excels in A-class circuit racing.
Location: Near the middle of Ohtani, slightly to the south. Far from main roads — easiest accessed from the dirt road that passes to the north. Look for a wooded area off the main asphalt routes.
---
Green Stamp (Sightseer) — 2 Barns
2. 1987 Ford Sierra Cosworth RS500 — Ito Region
A Group A homologation special and one of the most iconic touring cars of the 1980s. Dominates C-class road racing with exceptional balance.
Location: Ito's western protrusion. Located in woods near rice farms, southwest of a nearby intersection. Head to the small section that juts out on the west side of the region.
3. 1969 Toyota 2000GT — Ito Region
Japan's first true supercar. Worth over a million dollars in the real world. This A-class grand tourer combines elegance with surprisingly capable performance.
Location: East side of Ito, just off the beach. On the east coast, a dashed dirt road runs near the barn — turn east off the main coastal road to reach it.
---
Blue Stamp (Traveller) — 2 Barns
4. 1971 Nissan Skyline 2000GT-R — Nangan Region
The original Hakosuka GT-R. This C-class icon started the Skyline legend and remains one of the most rewarding classic drives in FH6.
Location: Northeastern corner of Nangan's large lake. Far southwest on the overall map — from the farms to the east, a dirt path leads west into the woods toward the barn.
5. 1989 Nissan PAO — Minamino Region
A charming retro kei car with cult status in Japan. Not fast, but one of the most stylish D-class cruisers in the game.
Location: West side of Minamino. The path to this barn is visible on the map — it runs west from the barn to a connecting dirt road. North of the Naruo golf course area.
---
Pink Stamp (Pathfinder) — 4 Barns
6. 1982 Porsche 911 Turbo 3.3 — Ohtani Region
The widowmaker 930. Rear-engine, turbo lag, and immense character. A B-class classic that rewards smooth driving on technical roads.
Location: Very bottom of Ohtani, surrounded by trees — can be hard to spot at first. Very close to Tokyo City. Best reached from the street northwest of the barn, then follow the tree line in.
7. 1984 Peugeot 205 Turbo 16 — Shimanoyama Region
Group B rally legend. Mid-engine, turbocharged, all-wheel drive. Tears through dirt and mixed-surface events in B and A class.
Location: Northwestern corner of Shimanoyama. The access road lies within a Speed Zone, making it easy to miss. Near the map's edge, not far from the street — watch for the dirt turnoff inside the Speed Zone boundary.
8. 1962 Lincoln Continental — Hokubu Region
Suicide doors, massive presence, and surprising straight-line speed in B-class. Perfect for cruising Tokyo's C1 Loop in style.
Location: Middle of Hokubu, southwest of the Shikisai-No-Oka colorful flower field (near the Flower Run Speed Trap). Best reached from the north — a dashed-line dirt path extends south from the road that wraps around the area.
9. 1998 Nissan #23 Pennzoil NISMO Skyline GT-R — Takashiro Region
JGTC legend in full Pennzoil livery. A race-ready R33 GT-R that tears through A and S1-class road racing circuits.
Location: West side of Takashiro. Near a Treasure Car location — at a road bend, find a large gravel parking lot. The dirt road to the barn is behind the building in that lot.
---
Orange Stamp (Navigator) — 2 Barns
10. 1997 Mitsubishi Montero Evolution — Shimanoyama Region
Dakar Rally royalty in a family SUV body. Dominates cross-country and off-road events in B and A class with surprising agility.
Location: Near the middle of Shimanoyama, east side. Set back from the main road — a visible east-west dirt road connects the barn to the nearby road. East from the Bandai Azuma Skyline Drift Zone toward the Mt. Fuji View Danger Sign.
11. 1997 Lamborghini Diablo SV — Ito Region
The definitive 1990s supercar. Rear-wheel drive, 530 horsepower, and timeless Gandini styling. A S1-class monster on high-speed tracks.
Location: Middle of Ito, near a deforested valley. Approached from the southwest — a railway and retaining wall block access from the east. Located between two tunnels, east of Ito Airfield.
---
Purple Stamp (Adventurer) — 2 Barns
12. 1998 Nissan R390 (GT1) — Ohtani Region
Nissan's Le Mans GT1 challenger. Mid-engine, twin-turbo V8, extreme aerodynamics. An S2-class missile built for top-speed runs.
Location: Southwestern corner of Ohtani. Close to a dirt road south of it, but the access path connects from the north. The entrance sits beside the Bridge Underpasses Trailblazer start gate (unlocked with the green wristband).
13. 2005 Mitsubishi #1 Sierra Enterprises Lancer Evolution Time Attack — Shimanoyama Region
A Pikes Peak-inspired time attack monster. All-wheel drive grip and massive aero make this the ultimate S2-class hill climb weapon.
Location: Top-middle of Shimanoyama. Hidden behind Narai-juku village — approach from the dirt road to the west, then follow a path east through the forest. North of the small town area.
---
Gold Stamp (Master Explorer) — 2 Barns
14. 1991 Mazda #55 Mazda 787B — Takashiro Region ⭐ Best Barn Find
The only Japanese car to win Le Mans overall. That rotary scream is faithfully recreated in FH6. Stats: Speed 8.0, Handling 9.6, Launch 8.5, Braking 10, Acceleration 7.9. This is the best Barn Find car in the game — an R-class endurance legend worth the grind to Master Explorer.
Location: Middle of Takashiro, deep in a large forest section. The northernmost barn find on the map. Find the turnoff from the dirt road on the west side of the forest and navigate into the trees.
15. 1983 Nissan #11 Tomica Skyline Turbo Super Silhouette — Ito Region
Group 5 silhouette racer with outrageous box flares and a massive rear wing. A S1-class time attack legend that looks like nothing else on the road.
Location: Just north of Ito Airfield. Follow the dirt road through the search circle — about halfway between two intersecting streets, a path heads south into the woods. Near Kitayama Big Daisugi.
Which Barn Find Should You Prioritize?
If you only push for a few Discover Japan stamps early, prioritize these barns:
| Priority | Car | Why |
|---|---|---|
| 1 | Mazda 787B (Gold) | Best overall car — Le Mans winner, R-class ready |
| 2 | Lamborghini Diablo SV (Orange) | S1-class dominance without spending credits |
| 3 | Nissan R390 GT1 (Purple) | S2-class top-speed weapon |
| 4 | Ford Sierra RS500 (Green) | Early C-class road racing workhorse |
| 5 | Honda NSX-R GT (Yellow) | First available, strong A-class circuit car |
Our Real Recommendation By Player Type
- You want one early useful free car: target the RS500 and NSX-R GT first
- You want garage value without spending credits: push toward Diablo SV and R390 GT1
- You care about collector prestige and endgame payoff: the 787B is the real finish line
- You mostly enjoy map cleanup and varied driving: clear by region and take whatever unlocks naturally instead of forcing late stamps too early
Signs Your Barn Route Is Bad
- you unlocked one new barn and drove half the map for only that car
- you keep asking why barns are not spawning but have ignored Discover Japan tasks
- you clear the purple circle, then leave the region without doing any Treasure Cars or route discovery
- you are paying to rush every restoration even though you are still in the middle of a multi-region session
What Most Players Do Wrong
Most players mix up Festival progression with Discover Japan, burn time driving across the map for one newly unlocked barn, and forget to bundle multiple finds into the same regional sweep. That creates the feeling that Barn Finds are slow when the real problem is route fragmentation.
Tips for Finding Barns Faster
- Prioritize Discover Japan stamps above all else — Festival progression alone will not unlock barns. Push Street Racing, Touge events, photography, and mascot collections to level this track.
- Use Drone Mode — When you reach a purple search circle, pause and deploy the drone. Fly it around to locate the barn structure from above — much faster than driving every dirt path.
- Listen for audio cues — Your character mentions getting close when you near a barn. Crank the volume or use headphones.
- Look for wooden barn structures — Distinctive roofs, often partially hidden behind trees or hills. They are always barn-shaped buildings, not modern structures.
- Clear by region, not by stamp — Once a few stamps unlock multiple barns, route them geographically instead of by unlock order. Ito + Minamino together, Ohtani + Shimanoyama together, then the northern sweep.
- Restoration takes time — After discovery, the car goes to restoration for a few in-game hours. You can pay credits to speed this up if you want the car immediately. Drive around, do a few events, and you will get the notification.
When To Stop Hunting Barns And Open The Map Tool
If you already know which region you are cleaning next, the main value now is not another wall of text. It is seeing barns, Treasure Cars, and region coverage together on one route. That is where the collectibles map becomes more useful than continuing to read location notes one by one.
When This Advice Stops Applying
Once you already have the late Discover Japan stamps and only one or two final barns remain, route efficiency matters less than simply finishing the last unlock conditions. At that point, any remaining friction is usually progression gating rather than navigation.
Barn Find FAQ
Q: Do Barn Finds unlock from Festival progression alone?
A: No. Festival progress helps your overall game state, but Barn Finds are exclusively tied to Discover Japan stamps. You can be a Gold Wristband in the Festival and still only have 2 barns if you ignored the Discover Japan track.
Q: How long does restoration take?
A: A few in-game hours of driving and completing events. You can pay credits to skip the wait if you want the car immediately.
Q: Should I hunt Barn Finds before or after Treasure Cars?
A: Together, in the same trip. Many barns and Treasure Cars are in the same regions. If you are already in Ito for a barn, grab the Treasure Car while you are there.
Q: Are all 15 Barn Find cars worth using?
A: Not equally competitive, but the top tier (787B, Diablo SV, R390 GT1, Sierra RS500) are genuinely strong free additions. The others are excellent for class variety and collector value.
Q: Can I see barn locations before they unlock?
A: No. Purple search circles only appear on the map after you earn the corresponding Discover Japan stamp.
Read Next
- Treasure Car Locations — 9 hidden cars with no restoration wait, findable immediately. Pair with your barn find route for efficient collection sessions.
- Interactive Collectibles Map — Use the map with region filters to plan your barn find loops. Toggle barn find markers on to see exactly where to go.
- Collectibles Hub — Road discovery, landmarks, XP boards, and the full collectibles strategy in one place.