FH6 Road Reveal Guide: Fastest Way to Open the Map and Improve Fast Travel Coverage
This page should turn map-completion and travel-efficiency intent into structured route planning, then feed players into fast travel context and the interactive map.
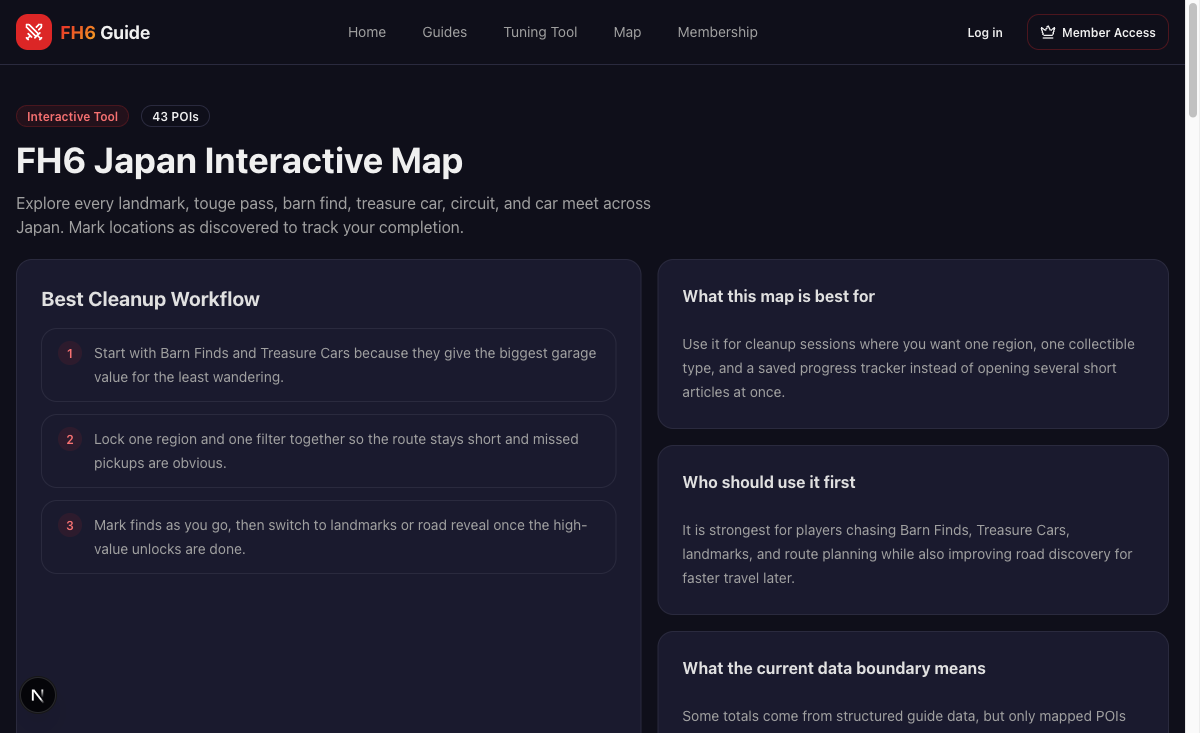
Open the Collectibles Map
Use the map when you want to stop reading road reveal theory and actually plan which connectors, Barn routes, and cleanup zones to hit next.
Quick Answer
The fastest road reveal strategy in FH6 is to clear high-value highways first, then major region connectors, then dense urban grids while you combine the route with Barn Finds, landmarks, Treasure Cars, and XP board cleanup. The goal is not 100 percent completion on day one. It is opening the most useful roads as early as possible.
Who This Guide Is For
This guide is for players who want to move around the FH6 map more efficiently, players trying to stop missing side roads during exploration, and anyone who wants a cleaner route for map completion without turning road reveal into a boring standalone grind.
Road Reveal vs Fast Travel
Road reveal and fast travel are closely related in FH6, but they are not exactly the same question.
- the Fast Travel Guide explains the system shift away from old board hunting
- this Road Reveal Guide focuses on the practical route: what roads to clear first, what to ignore early, and how to combine reveal work with other goals
That means this page is about execution, not just mechanics.
Best Path If You Only Have 1 Hour / 1 Day / 1 Week
1 Hour
Reveal only the highway backbone and the roads linking your current festival hub to your next two goals. One clean connector session is more valuable than thirty random side streets.
1 Day
Finish the backbone roads, the biggest region connectors, and one collectibles-oriented sweep such as Barn Finds or landmarks. That gives you useful coverage plus visible progress instead of a messy half-complete map.
1 Week
This is when dense city blocks and leftover scenic branches become worth finishing. By then your routes are stable enough that the final reveal work supports repeat races, late-game travel, and cleanup accuracy.
What We Recommend First
Use road reveal as a supporting layer, not as a standalone chore. Pair it with Barn Finds, landmarks, XP boards, and Treasure Cars so every long drive is doing two jobs at once.
Road Reveal Snapshot
| Priority | What To Reveal First | Why It Matters |
|---|---|---|
| 1 | Red highways and backbone roads | Biggest travel value for the least time |
| 2 | Region connectors | Makes collectibles and event routing easier |
| 3 | Dense city grids | Improves precise short-hop travel later |
| 4 | Remote scenic roads | Best done when paired with other objectives |
The Three Best Road Reveal Sessions
Session 1: Backbone First
This is the highest-value opening pass. Treat the long red highways and the broadest region-spanning roads as your first reveal objective. If a road changes how quickly you can cross the map later, it belongs here.
Session 2: Objective Connectors
Once the backbone is visible, switch to roads that connect actual jobs: Barn Finds, landmarks, Treasure Cars, houses, and your most repeated event clusters. This is where reveal work starts paying back in practical daily use.
Session 3: Precision Cleanup
Only after the map is already useful should you spend serious time on tight city grids, dead-end fragments, and scenic leftovers. These roads matter, but they matter late.
Best Road Reveal Order
1. Clear the Highway Backbone
Highways and other long backbone routes unlock the biggest quality-of-life gain first. They connect major regions, reduce dead travel time, and make later cleanup far easier.
2. Open the Roads Between Your Main Activities
After the backbone, reveal the roads that sit between your real goals: festival hubs, Barn Finds, Treasure Cars, landmarks, drift areas, and progression routes. This keeps reveal work tied to useful play.
3. Clean Dense City Blocks Later
Urban grids matter, but they are usually not the first thing you should finish. They become more important once your play loop shifts toward repeat events, precision travel, and final cleanup.
4. Use Remote Roads as Bonus Progress
Mountain and scenic roads are perfect when you are already chasing collectibles, drift routes, or photography-style exploration. They are less efficient as a dedicated first-session objective.
The Real Rule: Reveal Roads That Change Tomorrow
A good reveal route is not the route with the most white lines cleared today. It is the route that makes tomorrow's travel cleaner. If opening a road does not make future races, house runs, or collectibles routes easier, it probably belongs later.
Best Route Types to Pair With Road Reveal
Barn Find Runs
Barn Find routes are some of the easiest places to pick up meaningful road progress because they naturally pull you into useful side areas.
Landmark Sweeps
Landmarks are excellent for structured reveal sessions because they create a simple, memorable route pattern.
XP Board Cleanup
XP board runs make road reveal feel more rewarding because every detour can still pay back in level progress.
Best Cars for Road Reveal Sessions
| Session Type | Best Car Type | Why |
|---|---|---|
| Highways and broad connectors | Stable road car | Fast coverage with low drama |
| Mixed roads and side routes | All-rounder | Better when the route changes surface or shape |
| Mountain and scenic reveal | Rally or light off-road build | More forgiving for rougher lines and elevation changes |
| Tight city cleanup | Small nimble car | Easier to catch missed side streets |
The best road reveal car is the car that keeps momentum without forcing rewinds every few minutes.
Signs Your Reveal Route Is Bad
- you are opening lots of tiny side streets but still cannot cross the map cleanly
- your current route does not pass any other useful objective
- you keep diving into city blocks before the highways are even open
- you finish a long session and still do not feel faster getting anywhere
If that sounds familiar, the fix is usually not more driving. It is better route order.
Common Road Reveal Mistakes
Wandering Without a Route
Random driving feels productive until you realize you opened a lot of low-value side roads and missed the routes that actually improve map mobility.
Overcommitting to 100 Percent Too Early
Useful map coverage matters more than total completion early. Reveal the roads you will actually use first.
Ignoring Route Pairing
A reveal session is much stronger when it also advances another goal. FH6 rewards overlap.
What Most Players Do Wrong
They chase total map percentage too early, clear low-value urban side streets before the backbone is open, and treat road reveal like a completionist badge instead of a movement upgrade. The result is a lot of driving with very little practical improvement.
Best Time to Use This Guide
Use this guide once your map is open enough that long travel starts slowing you down. It becomes especially valuable after the first few hours, when you are balancing progression, collectibles, and class-based garage growth across multiple regions.
When To Stop Revealing And Open The Map Tool
Switch from pure route thinking to the Interactive Collectibles Map when the question becomes:
- which Barn Find or Treasure Car should I combine next
- which region still has the biggest cleanup gap
- which exact objective should I stack with the next reveal run
That is the handoff point where a route guide stops being enough and a filtered map becomes more useful.
When This Advice Stops Applying
Once your major connectors are open and you are down to fringe city fragments or tiny dead-end roads, this guide matters less than your current objective. At that point the fastest route is simply to finish reveal work while doing another activity you already care about.
FH6 Road Reveal Guide FAQ
Q: What roads should I reveal first in FH6?
A: Start with highways and the major connectors between your most common event and collectible regions.
Q: Should I fully reveal the map before doing collectibles?
A: No. It is more efficient to reveal roads while doing Barn Finds, landmarks, Treasure Cars, and XP board cleanup.
Q: Is this different from the Fast Travel Guide?
A: Yes. The Fast Travel Guide explains the system. This page focuses on the best practical route for revealing roads efficiently.
Q: When do city streets become worth cleaning up?
A: After the backbone and major connectors are already useful. Tight city fragments matter more once your travel problem becomes precision, not reach.
Q: What should I read next after this page?
A: Go to the Fast Travel Guide, Landmarks Route Guide, or the Interactive Collectibles Map depending on whether you need system context, route planning, or filtered cleanup tools.
Read Next
- Fast Travel Guide — Read this if you want the bigger picture on how FH6 fast travel works without boards.
- Landmarks Route Guide — Use this next for structured scenic sweep routes that also improve coverage.
- Barn Find Locations Guide — Great follow-up when you want hidden-car routes that naturally reveal useful roads.
- Interactive Collectibles Map — Open the map when you want filters, region cleanup, and task-style exploration.
- Collectibles Hub — Visit the hub for the rest of the exploration cluster.